Wednesday, August 3, 2016

Spring Bouquet... Inspiration Destination #97


Heyloo! I'm back with a new and exciting DT project for Inspiration Destination Challenge #97

This week, I've worked on Vellum! I love Vellum! Ever since my jewellery designing days when we had to design on it! I always loved the translucency and the classy feel it possessed. I used to print all colourful designs and stuff on it for fun (always intuitively wanting to do something more with it but back then, I did not know anything about crafting).

So imagine my delight when I finally knew how I could put my vellum sheets to not just good, but fantastic use!

So without further ado, I'll get on with my yummy project for this week, I love flowers and I love colours. My stamp for this week is Spring Bouquet by Just Inklined. And instead of using such a beautiful stamp on a card, I wanted to lend it a bit more personality. I present to you my floral home decor which can be put up as a wall hanging or a table decor.

(Pics best viewed in full screen.)

It was so much fun colouring on vellum with my Spectrum Aqua markers (I just love these! colouring with them is just so much fun), albeit I should tell you that colouring on vellum with water colours requires a lot of efforts than colouring on a cardstock. But it was totally worth it! Especially with the raised and a little wrinkly effect that it lent to my project. To contrast that, I've added a circular layer of crackle glaze between the two pearl lines and coloured it brown.


Hope you liked my project and I would love it if you could leave some feedback and let me know how I've done.

Our sponsor for this week's challenge on Inspiration Destination is Just Inklined. Hop on over to the challenge blog to check out what fabulous projects the DT has churned out this week.


Participating in:
Lemon Shortbread Challenge Blog - AG
Crafting By Designs - AG
Crafty Sentiments - AG
Ooh La La Creations Challenges - Ribbons and Bows
Rhedd's Creative Spirit - Altered Art/Mixed Media
Craft Your Passion Challenges - AG

Wednesday, July 27, 2016

All Dressed Up for Christmas - Inspiration Destination #96

Hello everyone. My DT post this week at the fabulous Inspiration Destination Challenge Blog is now live. Hop on over to check out what other DT members have created this week.

Our sponsor for this week is All Dressed Up.


The stamp I'm using is: All Dressed Up for Christmas which you can find here.


I've coloured the image with my Spectrum Aqua markers (I just love 'em!) and fussy cut it. And since it's a Christmas stamp, I've added loads of glitter to the fairy wings, the gift ribbons and blobs of colourful glitter to the Christmas tree and stars. I've layered the image with Christmas-y stuff (pattern papers and message).

(Pic best viewed in full screen.)

Hope you guys like it and I would love to hear what you think.

Participating in:
Brown Sugar Challenge - Christmas in July
Christmas Card Challenges
Fussy and Fancy Challenge - Christmas in July
Fab n Funky Challenges - Christmas

Wednesday, July 20, 2016

After Party madness - Inspiration Destination #95

My 2nd DT project this week on Inspiration Destination is for Kenny K stamps.


I've created a mixed media, shaker tag using the digi stamp 'After Party' which can be found here.

Since it's a fun stamp, I wanted to try something different. First of all, I coloured the digi stamp using my Spectrum Aqua markers (I just love these!). I then created a tag, stuck a contrasting colour pattern paper and started assembling the shaker elements. I covered the corners with crackle paste and highlighted everything with gold, green, blue and pink colours. I added some glitter here and there to tie up the whole tag. I simply love how the cracks show (some very fine and some deep and big ones).


If you liked my tag, please leave some feedback and encourage me to do better :). More such yumm posts coming up soon.

Participating in:
Love to Create Challenge Blog - Anything Creative/Mixed Media goes
613 Avenue Create - AG with Optional Twist - Colour Challenge - Grey, Pink, Green

Summer Love... Kidz Daisy - Inspiration Destination #95


Hello everyone. First of all, a good news. I'm so happy to share with you that I am one of the DT members at a fabulous blog called Inspiration Destination Challenge Blog. It's a wonderful blog with a very talented DT group. I'm so honoured to be a part of this amazing 'Dream Team'.

This is my very first DT project and blog post for Challenge No. 95: Always Anything Goes. Our wonderful sponsor for this week is:


The image that I worked with for this challenge is: Bug Kidz Daisy, which you can find here.

The moment I saw this image, I knew I wanted to make a colourful, vibrant and fun card. The image is so chirpy and innocent that I knew it had to be filled with colours. This is also the first time I have used my Spectrum Noir Aqua markers (colours from Primary and Nature sets used) and I completely loved how the colouring turned out. I've distressed the edges of the base green panel on which my digi image is stuck to give it a nice raw effect to break the monotony of 'kewtness'. I've carried the same effect for my prime sentiment (Something Special for you) to balance the look.

I've colour co-ordinated the background with the stamp colours and added fun elements and sentiments to spruce up the card and lend a cohesiveness. I'm completely in love with these colours.

(Pics best viewed in full screen.)

A close up look of my coloured image.

I hope you liked my card and would love it if you could leave your feedback below.

Participating in:
Crafting from the Heart - AG
Simply Papercraft - Always AG
Craft your Passion Challenges - Always AG

Tuesday, May 24, 2016

'Glorious' Mini Album

Finally getting a chance to enter for Lulupu's challenges. So here is my first ever entry :).

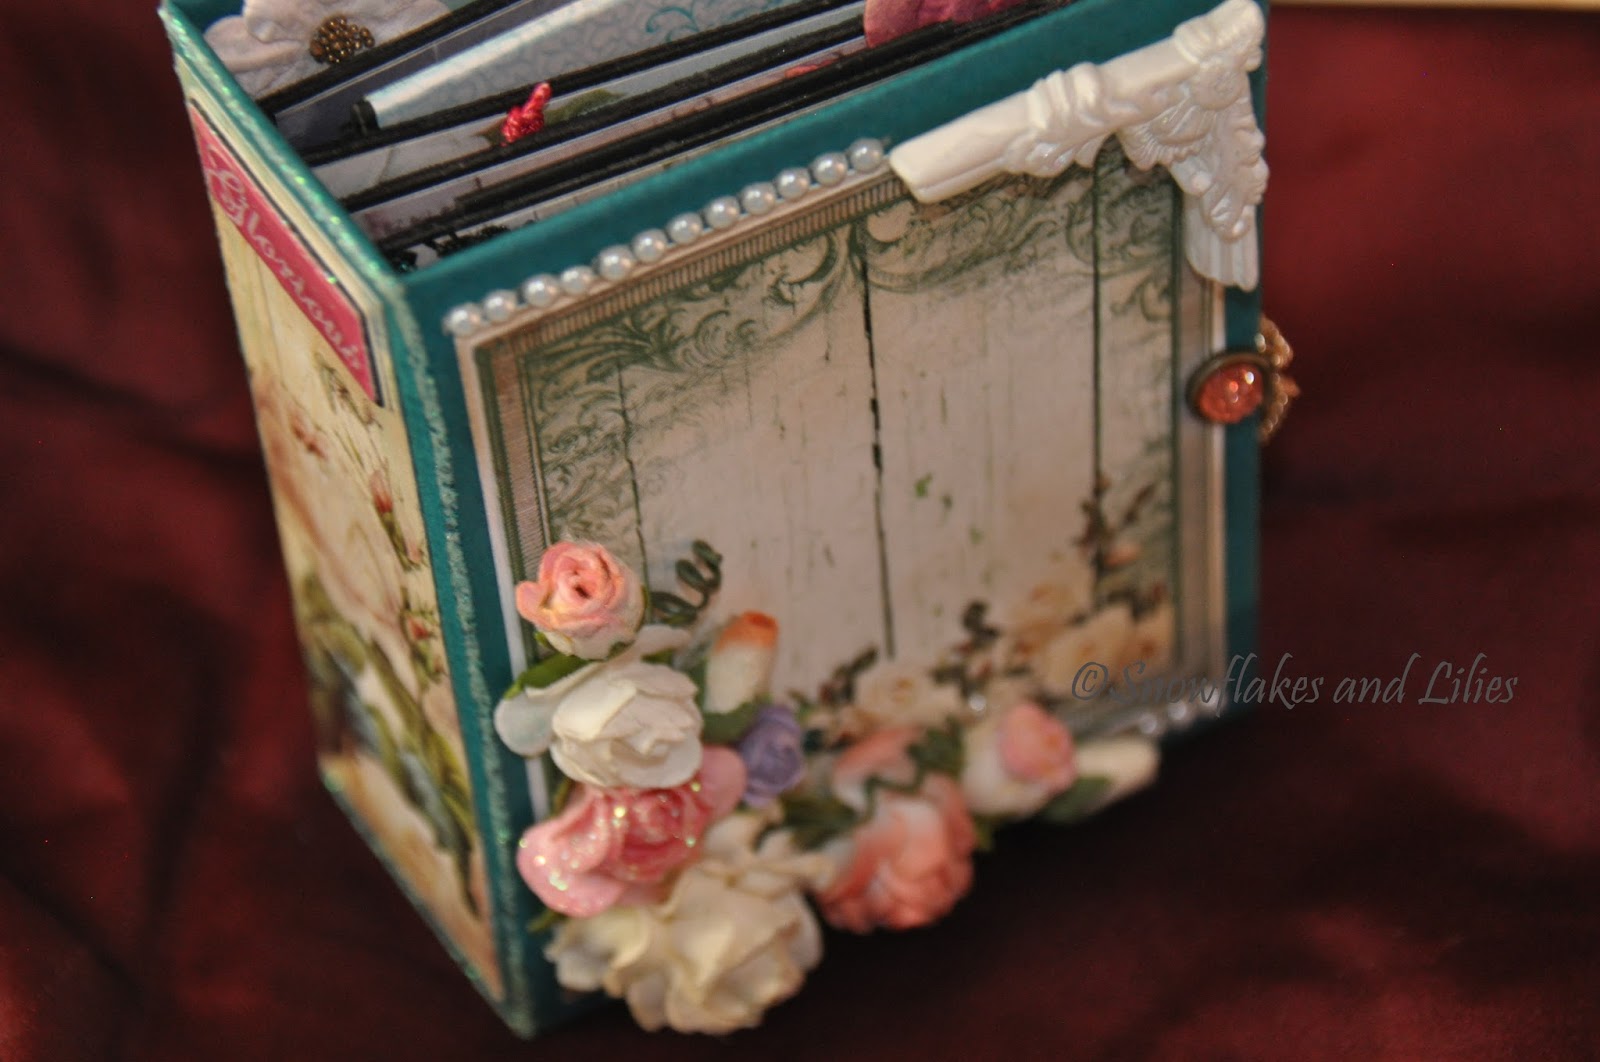
My 'Glorious' themed mini album is 4x3 inches in size (pretty miniature, I know! I love creating miniatures!). It hosts 5 pages, with flaps or fussy cut pockets or tags or with certain surprise features (that you can get to see in the video at the end of this post). 

(Pictures best viewed in Full Screen.)


The cover is heavily decorated in a very ornate and dreamy way. Loads of flowers and paraphernalia, accentuated by pearl trims, shiny/textured Prima brad to balance the design and colours.


I've used papers that are heavy on the design aspect and contrasted that with subtle embellishments. For the spine, I glossy accented the word 'Glorious' and to give it a raised effect, stuck it on multiple cardstocks and design papers. To highlight the spine's exclusivity, I used glitter glue on all 4 sides.


For the back, I've used different strips of pattern papers and tried to elevate the back in a subtle way, instead of giving it a plain Jane look.


For the closure, I've used a metal chain, secured it with Prima brad, and added some kewtness with an Eiffel Tower charm.


Because the album is of a really small size, and because the cover is so heavily embellished for its size, I have used intricately designed papers (that provide style on their own) and contrasted them with a tad simplicity w.r.t. embellishing them. I've added a magnetised foldable tab that gives you 4 sides to stick pictures. All the pages have contrasting pearls/rhinestones at the corners. Some have lace or flowers or other embellishments. There's a lot of stamping on some of the pages and flaps.
   

Here you can see fussy cut flowers that have been made into a pocket for keeping tags and pictures.


For a quick run-through of my album, you can watch the video below.


Participating in:
Crafty Sentiments - AG
Craft Your Passion Challenges - Always AG
Crafting From The Heart - AG
Avenue 613 - AG + Create your own challenge
Brown Sugar Challenge - AG
Crafting With Friends - AG
PDE Linky Party - AG
Crafty Girls Creations - AG
4 Crafty Chicks - Favourite Era

Tuesday, May 10, 2016

Bielo cardstock card...

I love experimenting with my craft supplies and projects; and this time, when I received the free Bielo cardstock from the Craft Shop/Priya Sivaraj, I couldn't wait to try my hands on something different.

The cardstock is buttery smooth in texture and really sturdy and thick. It's absolutely white. I was really excited the way my distress inks (and painting with them) reacted with the cardstock; so absolutely smooth and receptive.

Since I love using distress inks, my card features those in quite a few different ways. But my absolute favourite is the watercolour effect derived from distress inks (and Bielo cardstock is so perfect for that).

So for the card, I first used a sparkly brown 'ribbon' for the edges and embellished it with resin corners. Then I started my background and used distress inks (all purchased from The Craft Shop) with water and made brush strokes diagonally for the base. Then I sprayed a couple of sprays from Lindy's stamp gang. Used Graphic 45 stamps for the corners (purchased from The Craft Shop).

(Best viewed in full screen)

I used my mini distress ink (peacock feathers) and blotched it all over my card and added some gesso randomly and very thin. I then took some gorgeous Prima papers and cut them to align them as in the card. I distressed the edges boldly and used one of the Graphic 45 Happy Birthday stamps. Made random lines all over to make the card more cohesive and painted the edges with the same distress inks and water.


Hope you like the card and thanks for stopping by.

Participating in The Craft Shop Birthday Celebrations.

Saturday, April 2, 2016

Floral paper box

So my new project is inspired by Dr. Sonia's Quilled Box. I wanted to try this style out since some time now and found the perfect opportunity to do so.

I browsed through the tutorial and tweaked it according to my style. I used chipboard instead of cardboard, used pattern papers and wrapping papers, tried to add drama with distress inks and thought of making a different type of closure for the box.

(Pics best viewed in full screen.)

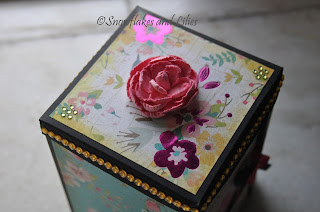
My final box sees some stamping, some glitter drama, distress inked edges and contrast combinations of pattern papers.


Some of the sides have been inked using Distress Ink - Old paper. 


While the lid's been inked with Distress Ink - Mustard Seed.


Because the paper pattern is so beautiful on its own, I kept my embellishments/decorations to the minimal for the sides of the box. I only added a handmade flower and leaf, with a heart stamped and glittered.


For the back side of the box I used a bold and simple idea of adding a photo mat with a kewt 'Love' stamp. For the photo mat and the inside paper, I've distressed it with Distress Ink - Peacock Feathers.


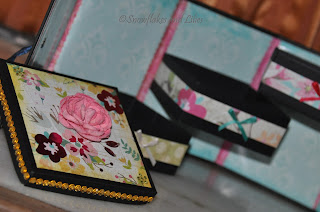
Because the outside of the box has so much going on, I decided to keep the insides simple and to a minimal to contrast with the outside drama. I used a neat blue wrapping paper, and contrasted it with pink borders in-between. I kept the boxes to a bare minimum and continued the theme by using all the papers on the small boxes that I used for the outside box. And finally, I added a kewt bow.


It was so much fun creating this project and I'm happy I was able to complete it before abandoning it lol.

Participated in:
Dr. Sonia's 5 million views celebration
Brown Sugar Challenge Blog - AG
Country View Challenges - Spring
Craft-Dee BowZ - AG with a handmade bow
PDE Linky Party - Always AG
Scrapping 4 Fun Challenges - AG
Vintage Journey - Spring is in the air
The Artistic Stamper - All things distress + Rubber stamping
4 Crafty Chicks - AG
Southern Girls Challenge - AG
Decorate to Celebrate - AG
Inspiration Destination Challenge Blog - AG
Crafting by Designs - AG
Lemon Shortbread Challenge - AG
That Craft place - AG